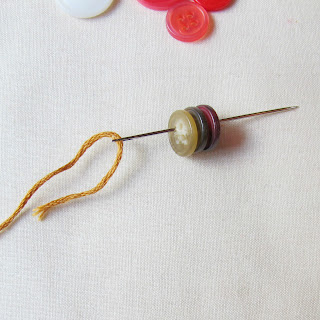
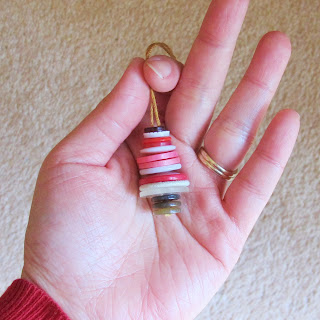
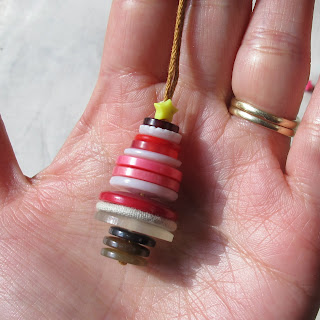
You all know by now how much I love old buttons, and how much I love Christmas! So today I am sharing with you a SUPER simple tutorial for making your very own, cute Christmas tree ornaments made from your button stash. As I said, this project is very easy, you'll have lots of little button trees made up in next to no time. And kids can join in too, that's how easy this is!
Supplies:
- buttons, lots of them in a range of colours
- teeny star beads (or you could use a star button)
- embroidery floss or thin beading wire
Method:
1. This is the BEST part - sort through your button stash!!! You will need 3-4 small black or brown buttons (1cm/⅜ in) for the base of the tree and 8-10 buttons in varying sizes for the top part of the tree. You can go with whatever colour scheme tickles your fancy, just make sure that you get an even gradation of button sizes to make the typical cone shape of a Christmas fir tree.
2. Cut your embroidery floss or beading wire to a length double that of your button stack plus enough extra to tie off into a loop for hanging. If you're using floss to string your buttons, thread it onto a needle to help you get all six strands through the button holes. Thread your buttons onto the floss in order of smallest to largest for the tree top, then the buttons for the tree trunk. Then thread the floss back through the other hole of your buttons so that the loose ends are both at the top of the tree.
3. Make sure you're happy with the order and colour scheme of your beads, then thread the star bead onto your loose ends of floss.
4. Tie a double knot at the top of the star bead, then tie the floss ends together to finish off the loop for your ornament. And you're done - woohoo!


No comments:
Post a Comment
I love finding out what my readers think, so thanks for taking the time to leave me a comment!