Wednesday, 17 October 2012

My Creative Space

image beaded bracelets delicate feather charm macrame arm candy jewellery jewelry

There hasn't been much creating for Two Cheeky Monkeys or Domum Vindemia this week (okay, there hasn't been any creating for my stores), but I have been having fun making more bracelets for myself.  I know, I really don't need any more bracelets, but I am using this as an opportunity to try out or improve on new techniques I've learnt.  This week I've mostly been practising good, old-fashioned macrame knots - focussing on the square knot in particular.
As you can see, the middle most bracelet is simply a series of square knots (made with waxed linen cord) with a simple filigree charm in the centre.  The right most bracelet was made with pretty ceramic beads I was given by a lovely fellow jewellery-maker and I've used a row of square knots to make a sliding closure.  And the little golden bracelet between the two I've already mentioned?  It was so simple to put together I'm embarrassed to admit I have never done it before!  A pretty charm, two lengths of chain and a clasp are all you need to get yourself a cute little bracelet - simple, right?  So have you tried any new creative techniques this week?  Or are they still on your "to do" list?

Monday, 15 October 2012

Things I Love

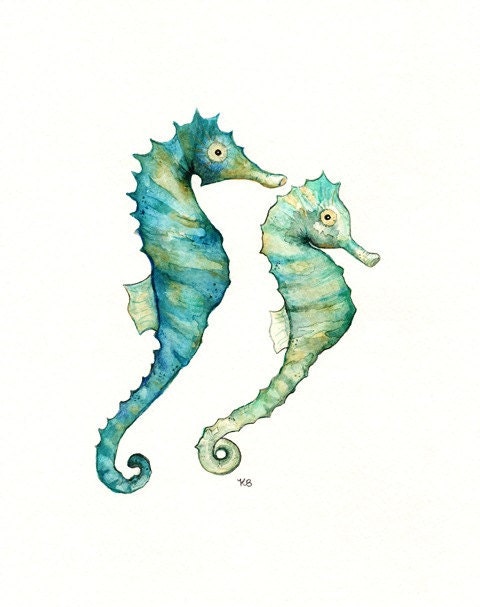
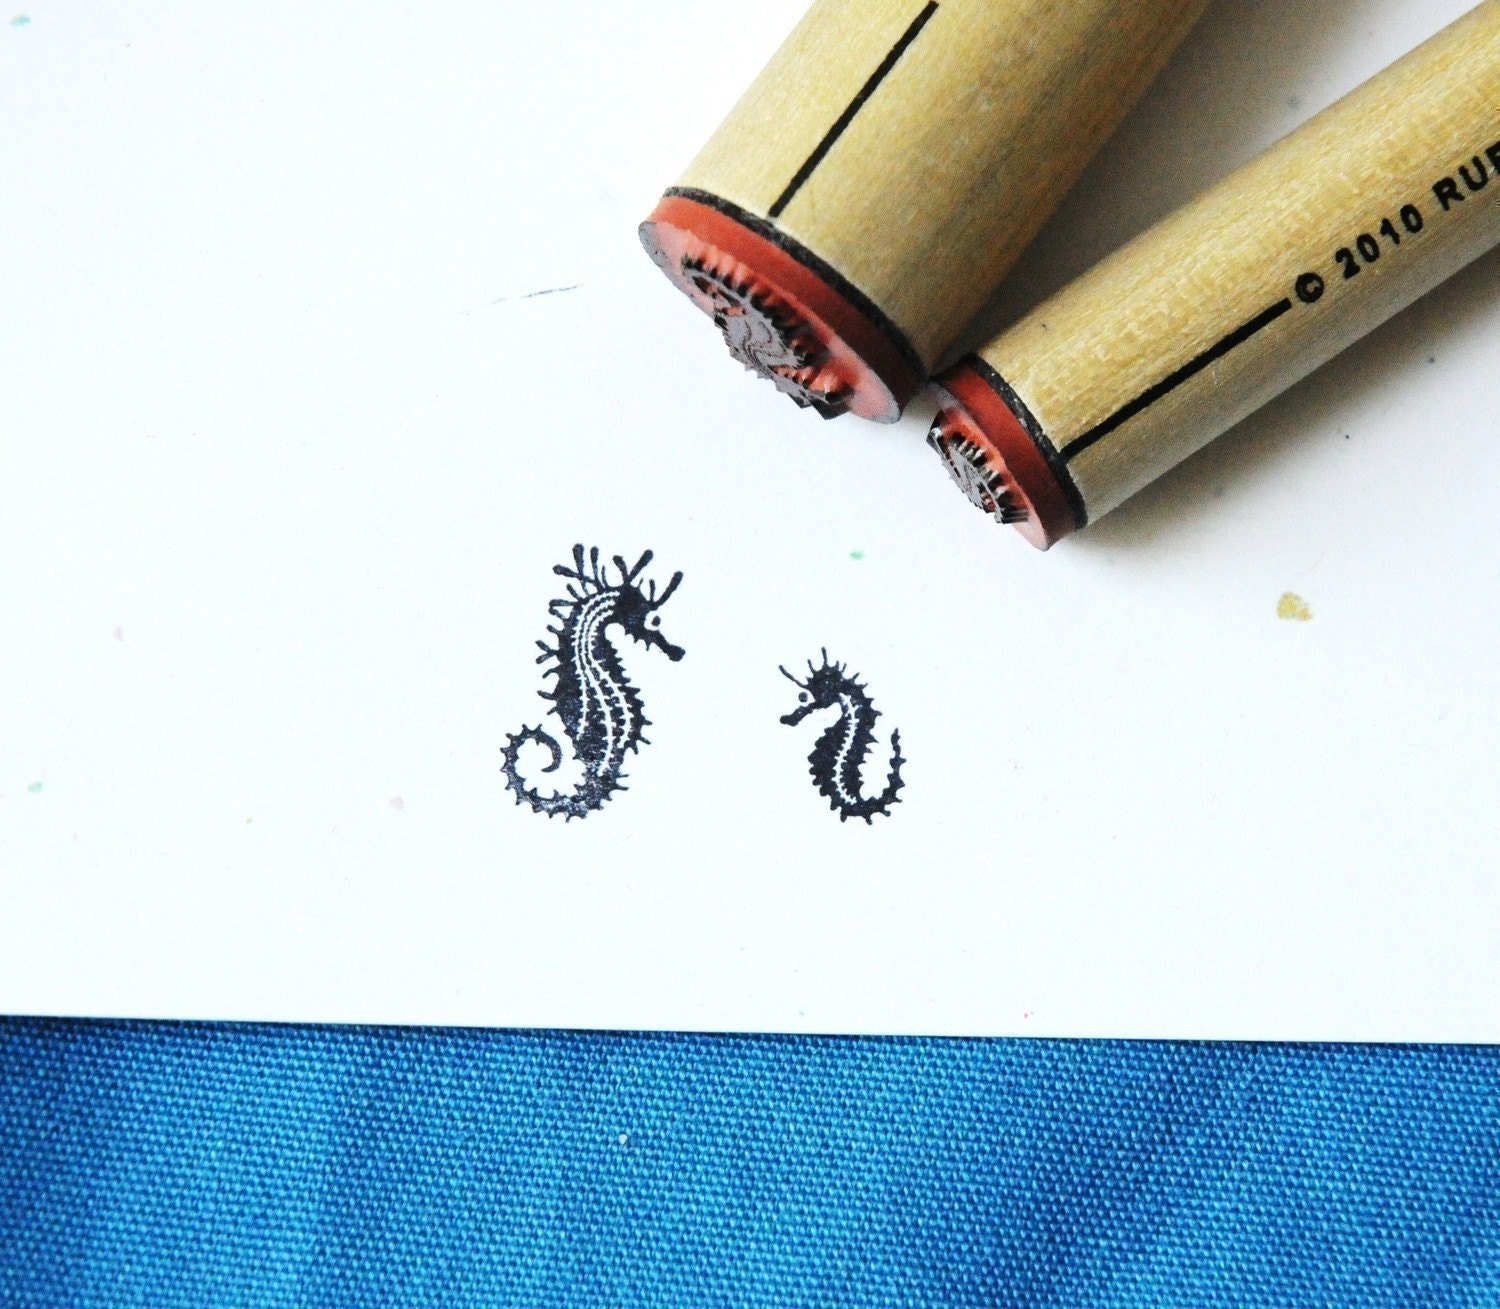
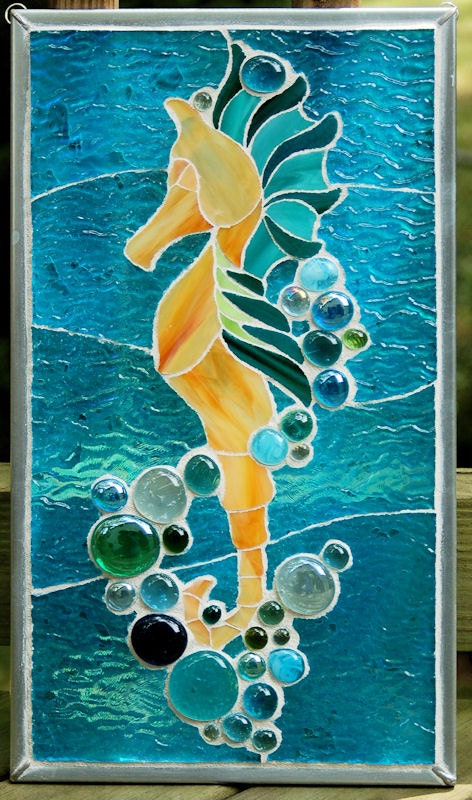
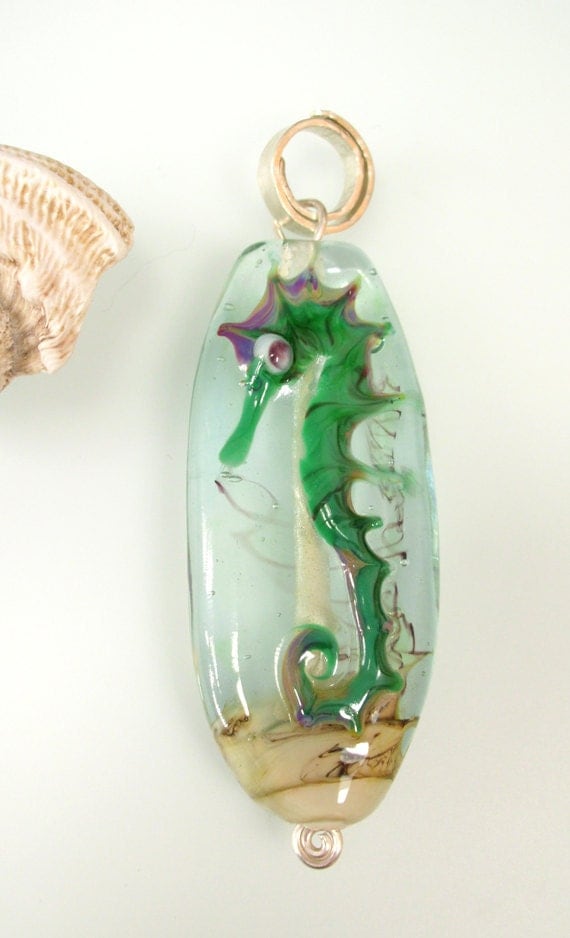
I have long been fascintated by marine life, perhaps it's the biologist in me, and one marine creature I especially love is the seahorse.  I don't know what it is about them that fascinates me so much.  Maybe it is their rather unique shape, or their relatively small size, or the quirky fact that the males are the ones who gestate and "give birth" to the baby seahorses (now I like that!)  Whatever the fascination, I also find myself drawn to seahorse-related creations, and the ones below are some of my current favourites. Do you love seahorses?  Or do you prefer other sea creatures?

image seahorse art print watercolour watercolor

image seahorse rubber stamp wooden norajane

image seahorse mosaic glass

image seahorse lampwork glass bead

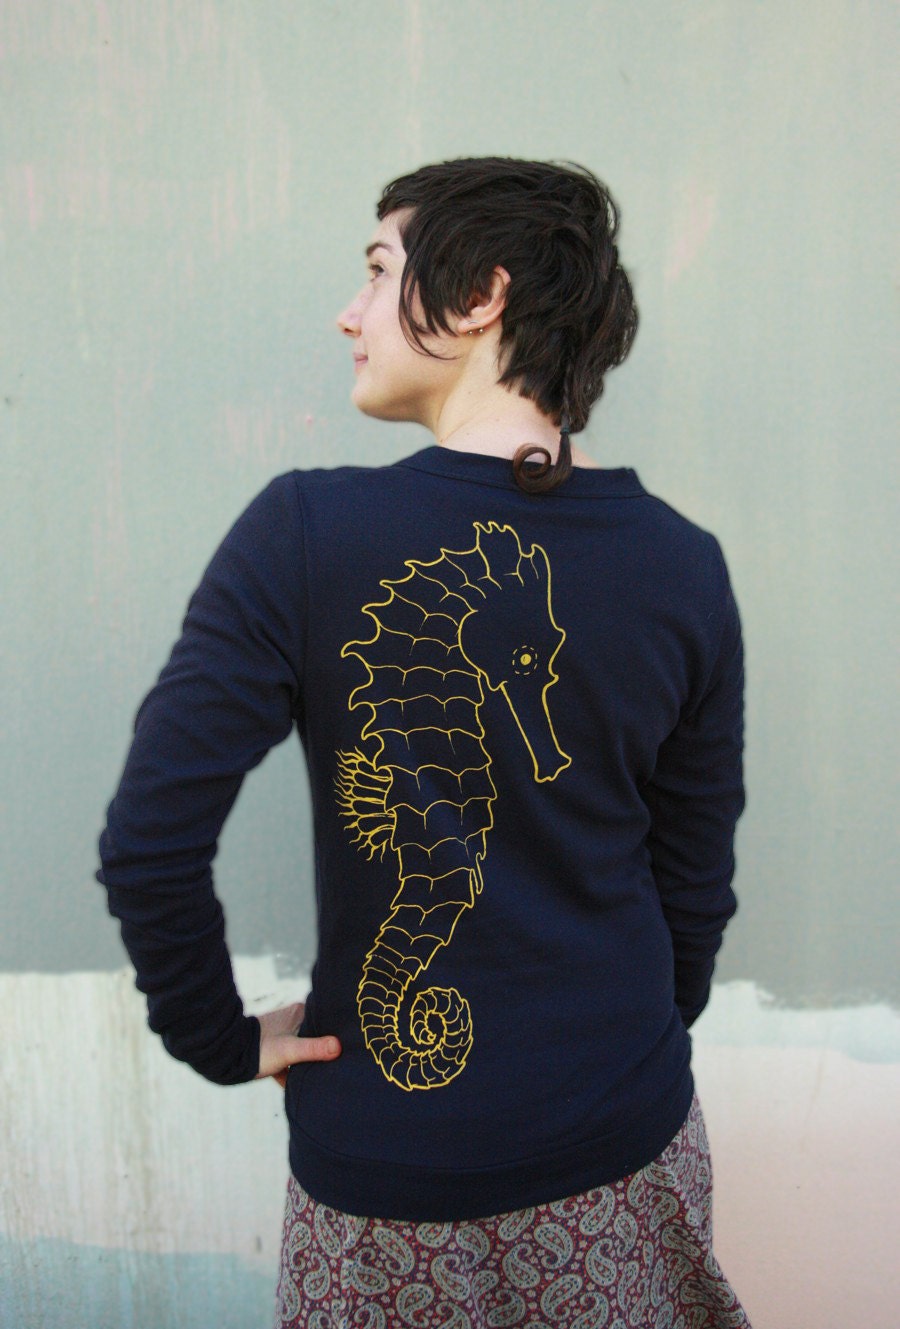
image seahorse cardigan navy blue yellow

Friday, 12 October 2012

How to Sew a Fabric Bow

image fabric bow how to sew

Things have been so busy here at the house of Two Cheeky Monkeys that it was only earlier this week that I realised I had never posted my promised tutorial  for sewing a fabric bow.  Very terribly remiss of me, I know, but never fear, that error is now being corrected!  For those of you who missed the no sew technique for making fabric bows, you can find the tutorial here.

Materials
- Two pieces of fabric 1cm wider and longer than your intended bow size
   (e.g. for a 6 x 4cm bow, cut two 7 x 5cm pieces of fabric)
- A small piece of fabric 8cm long and twice the width of  your bow centre
   (e.g. for a 2.5cm wide bow centre, cut a piece 8 x 5cm in size)
- Needle and matching thread
- Sewing machine
- Iron and ironing board (optional)

image fabric pieces for making a bow

Method
image sew your two rectangular pieces together wrong side together fabric bow

1. Take your two rectangular pieces and sew them together, right sides facing, leaving a 0.5cm seam allowance.  Make sure that you leave a small gap in the middle of one long end (see arrow) for turning your bow right side out.

image how to sew a fabric bow tanya whelan sugar hill FreeSpirit

2. Carefully clip the corners of your rectangle, then turn your bow right side out.  If you have a large gap which won't be fully covered by the bow centre band, slipstitch the gap closed for neatness.  Press your rectangle with a hot iron to give a crisper finish.

image how to sew a fabric bow tanya whelan sugar hill FreeSpirit pleat your bow

3. Gently concertina fold your rectangle then pinch it in the middle.  Using your matching thread, sew a few loops of fabric around the middle to keep your bow shape in place.  Although this step is not absolutely necessary, it does help when you are making small and fiddly bows or double bows.

image how to sew a fabric bow tanya whelan sugar hill FreeSpirit prepare bow centre band

4. Iron or finger press the long edges of your remaining piece of fabric towards the centre.  Carefully remove any loose threads hanging over the edges.

image how to sew a fabric bow tanya whelan sugar hill FreeSpirit attach bow centre band

5. Stitch one short end of the bow band to the bottom edge of your bow, making sure that it is centred correctly (use a ruler if, like me, you have spatial orientation issues).  Wrap your bow band once around the bow to cover the centre entirely.

image how to sew a fabric bow hand stitch bow centre in place tanya whelan sugar hill FreeSpirit

6. Cut off excess fabric, leaving a little overhang to turn under and hide the raw edges.  Stitch the loose end of your bow centre in place, making sure that you have covered all raw ends.

image how to sew a fabric bow tanya whelan sugar hill FreeSpirit

7. And there you have it, a quick and easy bow you can sew in next to no time.  As with the no sew bow, you can easily up- or down-size this bow pattern to create larger or smaller bows.  You can also turn your bow into a double bow simply by repeating steps 1-2 and then pleating your two rectangles together before step four.

image how to sew a fabric double bow

Thursday, 11 October 2012

Launching the Domum Vindemia Christmas Range and a Special Offer

image christmas ornaments stockings domum vindemia vintage fabric doilies

For those of you who have been keeping track of my creative space over the last few weeks, you will know that I have been working hard on a Christmas range for Domum Vindemia.  I have to admit it's been hard getting this range ready while the cheeky monkeys were on school holidays and with a never-ending stream of family birthdays and parties to attend (why do people have their kids all at the same time of year???)
 
image christmas stockings vintage fabric doilies floral purple pink yellow domum vindemia

But, I have finally put together a small selection of Christmas stockings and mini embroidery hoop ornaments, all made with vintage fabric and/or upcycled bed linen, of course!  I also dipped into my stash of lovely vintage doilies and laces and have used some of these to embellish my new range of creations.
 
image christmas ornaments vintage fabric blue white yellow lace doily domum vindemia
 
You will be able to find my new Christmas range in both my Etsy and Madeit stores, though each creation is one of a kind, so you have to get in quick to get the exact stocking or ornament you want.  Of course, I am more than happy to make up a custom stocking or hoop ornament should I sell out of the one you want!
 
 
To celebrate the launch of my new range, I am offering all my faithful blog readers, subscribers and Facebook fans free shipping on any item purchased from the "Christmas ornaments" range.  Leave me a message stating "FREESHIP CHRISTMAS" in the message to seller at checkout, and I will refund your shipping costs on any stocking or hoop purchased.

Wednesday, 10 October 2012

My Creative Space

image embroidery hoop ornament vintage fabric blue flowers doily christmas domum vindemia

Following on from last week's spate of Christmas creating, I have again spent this week working on Christmas creations for Domum Vindemia.  Using the same vintage fabric as I've been using for the Christmas stockings, I have been putting together mini embroidery hoop ornaments.  This is another idea I've had floating around in my head for quite some time; ever since I bought my first lot of  teeny doilies, in fact.
 
image christmas ornament embroidery hoop vintage fabric red and white flowers doily
 
As you can see, I have gone for a mix of "traditional" and not so traditional Christmas colours.  And I have embellished each hoop with a teeny tiny vintage doily in a colour which matches the fabric.
 
image vintage fabric christmas ornament embroidery hoop green roses bed linen chartreuse doily domum vindemia
 
I think I prefer the non-traditional Christmas colours, but I am really enjoying the creative process involved in making these little hoops.  I'm not sure if that's because I love anything in embroidery hoops or because it's hard to resist anything mini or teeny.

image cupcake stand dessert pedestal christmas reindeer monika heller-cole
 
For those of you who love my cupcake stands, I managed to find a Christmas-themed teaplate, so that has now been turned into a Christmas cupcake stand!  After I brought this plate home, I discovered that the image on it was created by German artist, Monika Heller-Cole.
So what have you been creating this week?  Have your creations been Christmas-oriented (gifts, decorations, etc)?

Friday, 5 October 2012

Large Bow Headband Tutorial


image large bow headband navy blue circles andover fabrics two cheeky monkeys outfoxed lizzy house alice band

Welcome to the second in my series of bow-related tutorials!  Today I am sharing a quick and simple tutorial for making a large bow headband.  This tutorial can easily be adapted for making headbands with teeny or giant bows or whatever type of bow catches your fancy.

Materials
- one plain plastic or metal headband (whichever you prefer)
- one large fabric bow (mine is approximately 18cm long by 4.5 cm wide), see here and here for bow tutorials
- fabric glue (I like to use Gutermann fabric glue)
- felt scraps (optional)

image large bow headband materials fabric glue fabric bow alice band

Method
1. Decide where you want your bow to sit when you are wearing the headband and mark the points at each end of the bow, making sure that your marks will be covered by the bow when it is attached.  I wanted an asymmetrical look for my headband so placed the bow to one side of the headband.  Next spread a generous amount of your fabric glue along the headband, using your marks as guides.

image how to make a fabric bow headband glue the bow to the headband base

2. Slowly and carefully place your bow on the headband, pressing down gently to ensure the bow and headband have good contact

Wednesday, 3 October 2012

My Creative Space

image christmas stockings vintage fabric doilies red green yellow lace

It's still school holidays here at the house of Two Cheeky Monkeys so crafting time has been highly limited this week.  But I did manage to find a little time to start work on a few new cupcake stands as well as an exciting new Christmas range of creations for Domum Vindemia.

image harriet cupcake stand domum vindemia vintage saucer yellow green floral upcycled spring
 
The cupcake stands I have been making in recent times seem to be heavily inspired by the beautiful Spring weather in Melbourne, with lots of pieces featuring bright, happy colours or lots of floral patterns.

image cupcake stand vintage domum vindemia lotus japanese plate blue flowers floral

 My new Christmas range for Domum Vindemia will include fun, little Christmas stockings made from vintage fabric and bed linen and embellished with vintage doilies, lace or all of the above.  There will also be some Christmas ornaments in the new range, but I won't say any more about them just yet!  I've had fun hunting for vintage fabrics for the stockings and working on my designs - each stocking will be one of a kind due to the vintage nature of the supplies I am using!

image domum vindemia vintage fabric christmas stockings upcycled repurposed bed linen doilies

So what do you think of my vintage fabric stockings?  Are there any colours you'd like to see (I am also working on yellow and possibly blue stockings)?  Would you like to see Christmas stockings in contemporary, but vintage-inspired, fabrics too?  And what are you making this week - are you being inspired by the weather around you?