Friday, 31 January 2014

Happy Chinese New Year!

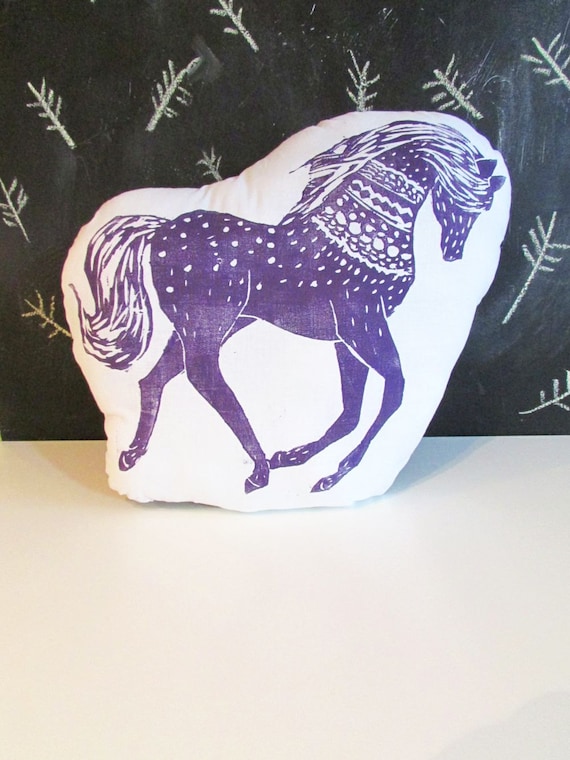
image woodblock print printed pillow cushion horse purple

Today I am wishing you all a very happy Chinese new year!  It is the year of the horse, which means that for all those of you who turn a multiple of 12, it's your year.  I don't hold to all the superstitions attached to what each year's animal is meant to represent for one's personality, but being Chinese, I always have fun celebrating with my family and friends.  This year the Two Cheeky Monkeys family is holding a little dinner just for family members and a few friends who don't have family in Australia.  And our church is hosting what will hopefully be a large Chinese new year party for everyone, not just the Chinese church members!  The church dinner always gives everyone a bit of a giggle because there is always someone who brings along something like a "Chinese jelly slice" or "Chinese meat pies" because that is the food they can cook and there's no way they're going to try and cook Chinese food for Chinese people, he he he.  So let me ask you, what is your favourite Chinese meal to cook, eat out at a restaurant or order from your local takeaway?

(Image source: Laura Frisk)

Monday, 27 January 2014

Two Cheeky Monkeys Market Night

image ballerina locket necklace two cheeky monkeys gold plated aqua flower ballet shoes

After one week of Christmas chaos with the various Cheeky Monkeys families, several weeks recovering from illness and many, many weeks of summer school holidays, the 2014 school year is about to begin!  It is actually a very hectic time of year for us as we make sure the little Cheeky Monkeys have everything they need for the new school year and there is usually Australia Day and Chinese New Year to celebrate as well.

image nastassia bracelet glam it up smoky grey black diamond vintage glass jewels brass two cheeky monkeys

Anyway, I have decided to add to the hustle and bustle of back to school time with a "Back To School" market night on my Facebook page.  I am selling off all old designs as well as some new ones too.  There is a preview album of items for sale and I am offering FREE SHIPPING on all purchases made from the special market album.  So when will the fun be on?  This Tuesday, 28th of January 2014, starting at 8pm AEDST.  It's first in, best dressed, and I don't often offer this kind of sale with free shipping included, so make sure to set a reminder for yourself to be there tomorrow night.  And who knows, maybe you will be able to find all the birthday presents and other gifts you will be needing for this coming year!

image ciel earrings blue gold filigree diamond two cheeky monkeys sky

Thursday, 23 January 2014

Make Your Own Pomting (AKA Pompom Bunting)

Summer school holidays continue here in Australia, and I've been working hard to keep the Two Cheeky Monkeys entertained while also trying to rest and recuperate (being sick is no fun, especially when it's nice and sunny outside).  So as you can imagine, I've been coming up with craft projects that the Monkeys can do with no or limited supervision.  A big hit this past week has been making "pomtings", or pompom buntings!

image pomting pompom bunting pom-pom tutorial diy garland

These whimsical garlands of pompoms were ridiculously easy to make, so I'm only going to share a very simple outline for you (plus I temporarily misplaced my camera charger and couldn't take any decent photos!!!).

To make your own pomtings, you will need:
- a bucket load of pompoms (store bought or homemade)
- baker's twine
- a darning or tapestry type needle with a large eye

Once you've gathered your supplies, all you have to do is tie a knot in one end of your twine (leaving about 5-10cm spare twine at the end for hanging your pomting) and start threading the pompoms on until you are happy with the length.  If you are using homemade pompoms, be very careful to make sure you are threading the twine through the centre of your pompoms, or you may find that they won't be properly secured.  Tie a knot at the other end of your twine (again leaving enough spare twine for hanging) and hang your new creation up in a spot that needs a bit of cheer!  The Cheeky Monkeys simply hung their pomtings over their beds with a few pieces of washi tape.

Wednesday, 22 January 2014

More Homespun Fun

image aqua blue bunting dena designs free spirit pretty little things white lace homespun
 
Since finally acting on my desire to add more homespun fun and cheer to my home decor last week, I have been adding more touches of fun around the house of Two Cheeky Monkeys!  As you all know, I am very fond of buntings, so added an aqua and blue bunting to a small window in my lounge room.  Buntings are so easy to sew up and this one was made using fabric from the Pretty Little Things range of fabric by Dena Designs.  I still have a few half yards of this gorgeous range of fabric left in my stash, so the Cheeky Monkeys will be getting some simple gathered skirts for their wardrobe, just in time for the end of summer!!!

Monday, 20 January 2014

Things I Love - Cross Stitch

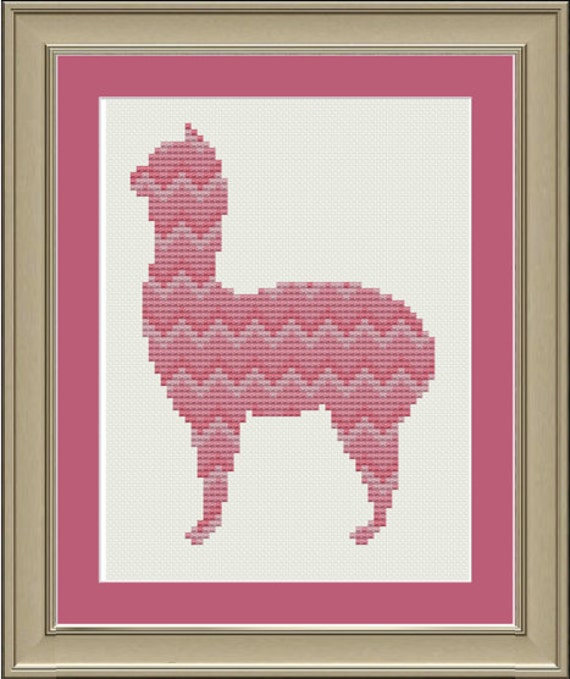
I did a quick Google search the other day in the hunt for teeny cross stitch patterns I could use in a project when I stumbled across a plethora of AMAZING cross stitch patterns available for free or for a small purchase price.  I'm sharing some of my favourites for my readers who are cross stitch fans or those wanting to try more contemporary patterns.

Sew a chevron llama with nerdylittlestitcher's funky pattern.

Star Wars patterns for the sci-fi geeks!

On trend ikat gets a makeover in cross stitch by galaborn designs.

Tribal-style feathers from The Making Spot.

Friday, 17 January 2014

DIY Decorated Jars

Today I'm sharing a quick tutorial for the cute decorated jars I first mentioned back in April last year.  They really are very easy to assemble, but I thought I would share a DIY anyway.  This is such an easy project that the Two Cheeky Monkeys were able to do much of the job themselves.

image diy tutorial decorated glass jars

Supplies
- clean jars, either purchased from a discount store or recycled after you've eaten your favourite jam/pasta sauce/etc
- spray paint
- small acrylic figurines (animals, objects, whatever you like!)
- glue: epoxy adhesive, E6000 or liquid nails are all good
- newspaper or drop sheet
- paint undercoat or primer (optional)

Method
image diy decorated jars tutorial painted figurines

 1. Clean and dry the jar lids.  When the lids are completely dry, lay out your newspaper or drop sheet in a WELL VENTILATED area and paint the lids with the paint primer.  Or, if you are lazy like me, simply spray paint the lids with one coat of paint.  Let the paint dry and repeat with as many layers of paint as required to cover your lids nicely (I would recommend at least two coats of paint).

image tutorial diy decorated painted jars spray lids with paint in well ventilated area

2. When the last coat of paint is completely dry, glue your figurine or decoration to the lid.  Leave your jar lid to fully dry before using the jar.  Learn from my experience, if you don't let the glue fully cure and give said jars to your small people, they will hold the jar ONLY by the figurine and everything will fall apart and there will be tears.  You have been warned!

image tutorial diy decorated jars painted lids glue figurines to the painted lid

3. Once the glue has completely cured and your figurines are securely attached to the jar lids, fill your jars with whatever tickles your fancy (oldest Monkey filled her jar with her prize collection of plastic beads).

Alternative - If your plastic figurine is a rather ugly colour or perhaps was a battered find from the op shop, you could hide any imperfections by painting the figurine the same colour as the lid.  To do this, simply attach your figurine to the lid BEFORE painting.  Allow the glue to fully cure, then spray paint your lid, figurine and all!  If you choose to decorate your jar lid this way, be careful to avoid drips when painting the decoration; you wouldn't want to ruin your cute new jar, would you?

Wednesday, 15 January 2014

Literature Brooch Sneak Peeks!

image brooch literature literary character two cheeky monkeys edward ferrars anne shirley scarlett o'hara mr darcy jane austen lm montgomery

In spite of recent illness, I managed to work on some new brooches for Two Cheeky Monkeys in between napping on the couch and sipping myriad cups of honey and lemon tea!  As you may have noticed from last week's sneak peek at the new bookmark range coming to Domum Vindemia, there are lots of new literary characters being added to my popular jewellery range.  There's Edward Ferrars, Anne Shirley and Scarlett O'Hara, just to name a few!  Which literary character would you wear on your accessories?

Monday, 13 January 2014

Adding a Homespun Touch

image homespun art corner photo lino print watercolour spool still life

Since I seem to have spent most of this summer holidays attempting to rest and recover from a lingering sinus infection, I have had a fair amount of time to read through some inspirational creative books.  My current two favourites are Homespun Style by Selina Lake, and The Crafty Minx At Home by Kelly Doust.  Both of these books share hints, ideas and/or projects for decorating one's home in beautiful handmade (or homespun) style.

image homespun art corner photo lino print watercolour spool still life photography

The Two Cheeky Monkeys and I have been completely inspired by these two books (both of which shared ideas I have been thinking about for a while now) and I took some time out from my resting to brighten up a corner of my bedroom.  I very quickly and simply attached a range of photo prints and artwork I own directly to the wall using Love Mae fabric wall stickers.  It's a little wonky, but my disparate range of photos and art has really lifted this corner of my room!  The art you see can be found at 74 Lime Lane (most of the photo prints), Dandelion Lady (the linocut print, bottom left), wiccked (the watercolour work, top left), Filmless Photos and One Ripple Photography.

Thursday, 9 January 2014

Sneaky Peeks At Literature Bookmarks

image bookmark anne of green gables anne shirley gilbert blythe domum vindemia silver lm montgomery

 Yes, my love of upcycling vintage books continues unabated!  Those of you who are subscribers to my monthly newsletter will already know that I have been planning out my Autumn/Winter ranges for 2014, including literary bookmarks for Domum Vindemia.

image bookmark brass bronze jane eyre charlotte bronte domum vindemia

I know, it's a little ironic that I'm cutting up old books to turn into bookmarks for people to use in their new (or old) books, but what can I say?  I'm having a ball making these literature bookmarks!  I'm starting the range small with one or two bookmarks each from Pride and Prejudice, Jane Eyre and Wuthering Heights.  I will also be expanding the range of books I work with to include Anne of Green Gables, Sense and Sensibility and Gone With the Wind!  Are any of these in your list of favourite classics?

image gone with the wind bookmark domum vindemia scarlett o'hara rhett butler classic literature

Monday, 6 January 2014

Felt Fun DIY - Needle Felting Kits

Before I launch into today's post, I want to ask you all: how is everyone surviving the southern hemisphere school holidays and the northern hemisphere Christmas/new year break?  Things have been pretty crazy chez Two Cheeky Monkeys, especially as we all fell ill care of our hectic schedule.  But, now that we are slowly on the mend, our original plan to spend the summer holidays day tripping and crafting is back on!

image daiso needle felting kit


I have been wanting to try needle felting for some time now, but wasn't sure that I wanted to invest in a full kit (wool roving, needle, foam mat, etc) for a creative technique the Cheeky Monkeys and I may not take to.  I know that I may seem to be a "jack of all crafts", as it were, but sometimes I try a creative endeavour and decide that it is just not for me.  So, when I saw some cheapie felting kits at our local Daiso store, the Monkeys and I decided to give needle felting a go (see above).

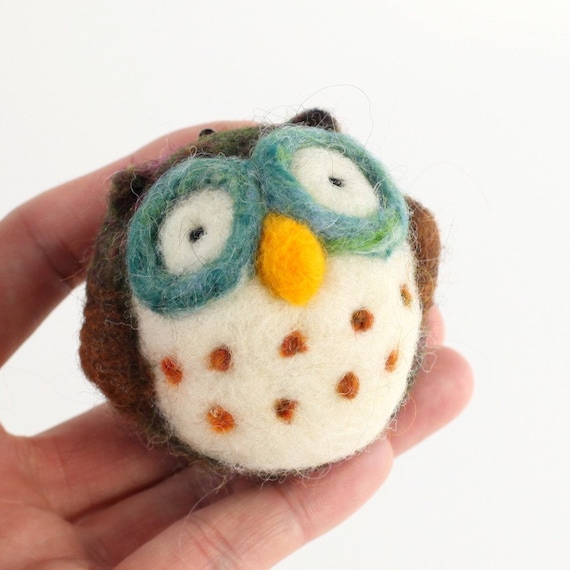
image diy needle felting kit tutorial owl

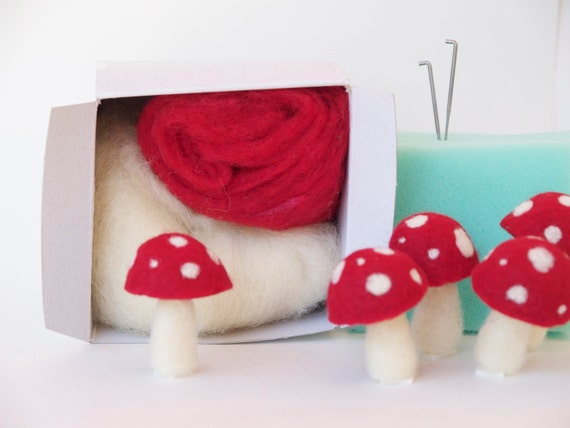
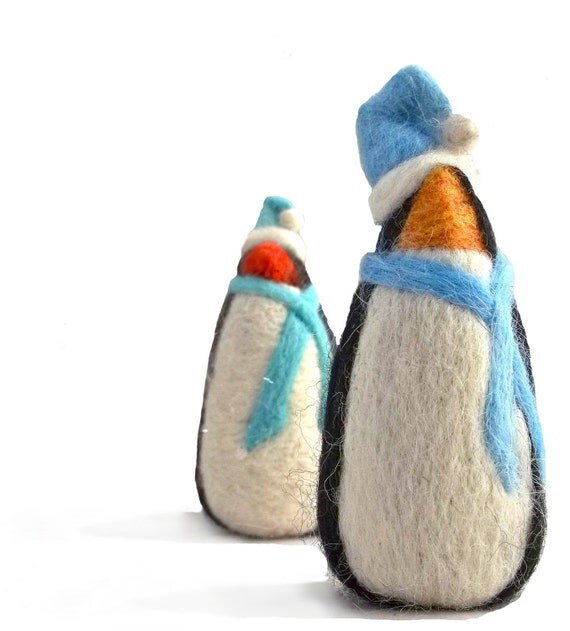
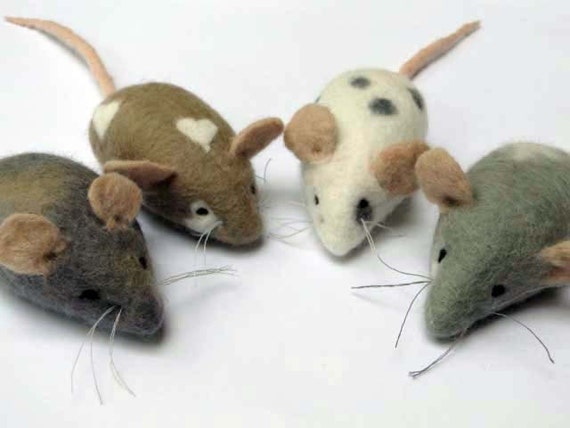
For those of you who already love needle felting and are looking for some better quality kits than my discount store finds, there are an amazing assortment of kits to be found online, including these which I found on Etsy!  If you are a keen needle felter, I'd love to know your hints, tips and any links to great tutorials or supply stores, please.  :)

image diy needle felting kit toadstool mushroom tutorial

image diy needle felting kit penguins tutorial

image diy needle felting kit mouse mice tutorial

Friday, 3 January 2014

Crochet Ripple Blanket Reveal!!!

image rainbow ripple crochet blanket rug

So...do you remember my post back in November when I mentioned that I had started making a ripple crochet blanket?  Well, I may have only worked on it here and there when I wasn't busy packaging Christmas orders for customers or helping the little Cheeky Monkeys with their end of year activities, but I managed to finish my blanket just before Christmas.  It's pretty psychedelic as I wanted a rainbow effect for the blanket and always intended for this to be a bit of a scrap-buster project (I managed to use up the remnants of seven balls of yarn!).  I am enjoying the splash of colour this blanket is adding to my home, though I am thinking that one day I really should make the effort to make a blanket with a more muted colour scheme.  What do you think?

Wednesday, 1 January 2014

Happy 2014!

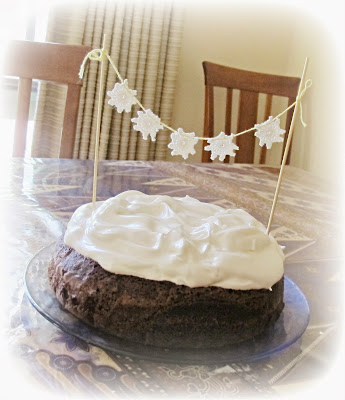
image cake bunting doily doilies lemon meringue chocolate cake

Today's post is going to be short and sweet because I am still recovering from all the cooking and cleaning I did for last night's new year's eve party at the house of Two Cheeky Monkeys.  I want to wish you all a blessed 2014 - may it be a year of growth and joy for you!  And thank you all for being faithful blog readers during 2013; I look forward to your continued support this year.