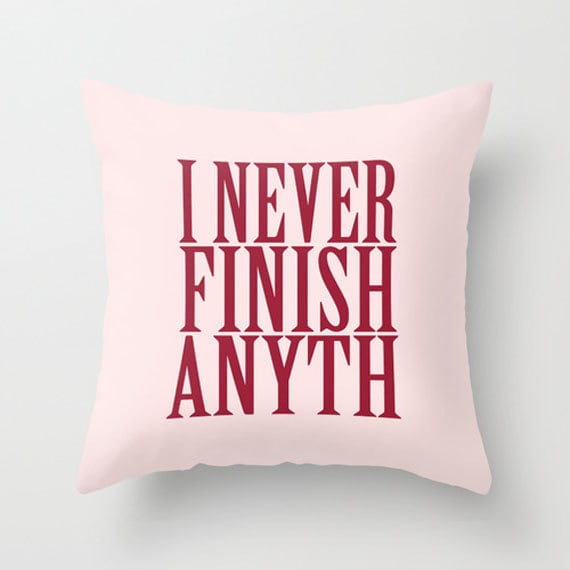
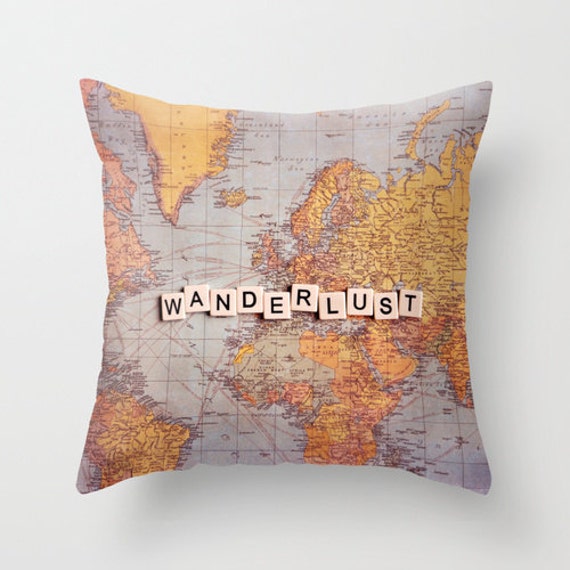
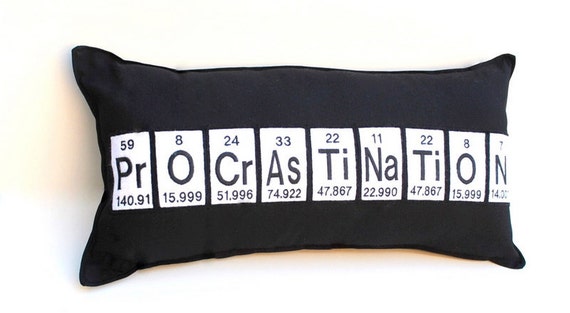
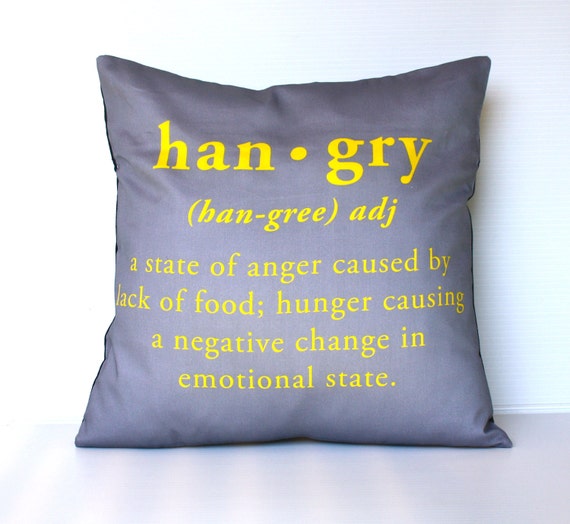
Do you love throw cushions? I ask because I am a big fan of placing decorative cushions on my lounge suites and couches. Which is actually a little weird because I'm not the kind of person who uses them while sitting on a couch (using them as pillows for napping on a couch is a totally different matter). Here are just a few of my current favourite quirky cushions, featuring sassy comments or funny life statements.
Pages
▼
Tuesday, 31 March 2015
Thursday, 26 March 2015
Why I love creating container candles
Every now and then I go through a period of questioning about my creations wondering why I make each piece, especially those which take a lot of time to create or put me in a headspin trying to keep the creative process in order.
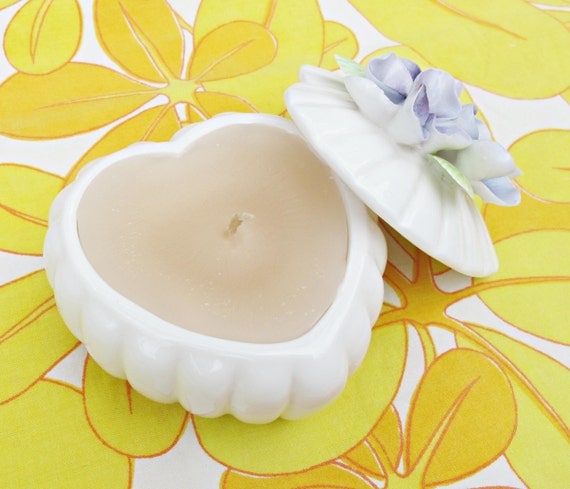
One range which I most frequently ponder along these lines also happens to be one of my favourites: my container candle range. I adore these delightfully shabby chic candles, but they do take a long time to make when you take into account my treasure hunting for suitable containers as well as the long process it takes to melt and re-set candle wax beautifully. And that's all before I even get to the stress of wondering if customers will be willing to pay the exorbitant postage fees charged by Australia Post!
So why do I keep making container candles for Domum Vindemia? Because I love them and so do my customers!!! Not only is each one of a kind candle beautiful to look at, the vanilla-scented candle wax smells DELICIOUS both while I'm creating my pieces and when they sit in storage waiting to go to their new homes. And my favourite part? An old, sometimes unloved, item is upcycled into something new, beautiful and loved. I'm so thrilled to know that there are others out there who love my container candles as much as I do.
Monday, 23 March 2015
Did you know...
I have always been fascinated with travelling and learning about other countries, and today's blog post is a facet of my interest in other cultures. Did you know that the Two Cheeky Monkeys blog is read in almost twenty languages and has a serious readership from at least ten countries? I've put together a map of my readers' locations. Where are you located?
Friday, 20 March 2015
Shipping delays and a holiday discount
For those of you who haven't already heard, the Two Cheeky Monkeys family is off on another getaway, this time to attend a family member's wedding. We've decided to make a big holiday of the whole shebang, which means that a simple trip for a wedding has now turned into a 3.5 week vacay for all of us.
I am planning to keep all of my stores open during this time, which means that any purchases made from 20 March - 15 April will not be shipped until 16 April. To make up for the delays in getting your purchases out to you, I'm offering a 10% discount in all of my stores when you use the coupon code VACATION. So now is a good time to stock up on all those gifts you need throughout the year, and I'll blog about our trip when we're back!
Two Cheeky Monkeys - Etsy
Two Cheeky Monkeys - Madeit
Domum Vindemia - Etsy
Domum Vindemia - Madeit
Two Cheeky Monkeys - Etsy
Two Cheeky Monkeys - Madeit
Domum Vindemia - Etsy
Domum Vindemia - Madeit
Wednesday, 18 March 2015
DIY Honeycomb Paper
Here at Two Cheeky Monkeys HQ we are big fans of honeycomb-style pom poms and decorations. In fact, we are such big fans that I decided that we needed to learn how to make our own honeycomb paper to create decor in our favourite colour schemes. Today's post shares a quick "how to" for others who want to try their hand at making honeycomb poms (without the expense of hunting down and buying pre-made honeycomb paper).
Materials:
- tissue paper, 24-40 sheets of 25x25cm paper, depending on how "fluffy" you want your honeycomb shape to look
- scissors
- glue stick or double-sided adhesive tape
- paper template
Instructions:
1. Take your tissue paper sheets and cut them to a 25x25cm size (this size is suitable for anything up to a large pom pom). If you want to make multicoloured poms, alternate tissue paper colours every 3-4 sheets.
Next, make a honeycomb paper template as above - the width between your lines will depend on whether you want a small and tight or large and airy honeycomb look and on the size of the poms you are making.
Make sure that every alternate line is marked in some way, either with a circle (as I have done), a number/letter or in a different coloured pen.
2. Place your first sheet of tissue paper on top of the template, making sure that you can see the line markers. Now place a thin strip of double-sided tape (or glue if you are using a glue stick) on every line you have marked with a circle/letter/first colour.
If you're using the tape, carefully remove the tape backing. Place the next sheet of tissue paper on top of the first. Don't worry if there are a few creases or it's a little uneven.
3. Now place tape (or glue) on all your alternate lines (the ones not marked with a circle/letter/etc). If you are doing this correctly, you will find that your tape/glue lines are spaced between the first set of tape/glue lines. Remove the backing tape and place the next sheet of tissue paper on top.
4. Continue taping/gluing and layering tissue paper sheets with the rest of your paper. I would suggest a minimum of 24 sheets, but you could do as many as 40 to 50 for a fluffier look.
5. To check that you are taping/gluing your sheets together correctly, pull up your paper sheets at the edge. You should see the beginnings of your honeycomb pattern forming when the sheets are pulled apart.
And there you have it, honeycomb paper in your favourite colour scheme ready to turn into fun decorations for your home! If you do make your own paper, please leave me a link to photos of your homemade honeycomb paper goodies.
Monday, 16 March 2015
Things I Love - Embroidery
Ever since my mum taught me how to work a simple cross stitch design when I was four years old, I have been in love with hand sewn and embroidered creations. Today I'm sharing a roundup of some fun embroidery creations I've found on Madeit - enjoy!
3. lolli & bean
4. Crosus
5. anou design
6. Miss-E
Friday, 13 March 2015
Tickle the Imagination Issue 19
For those of you who have been waiting with baited breath, the wait is over, issue 19 of tickle the imagination is now available online and at good newsagents around the country!
As a "tickle" ambassador, the latest issue has gotten me very excited with fun DIYs for baking your own French macarons or making your own paper, gorgeous stylist tips to make your next celebration absolutely beautiful, pages of rabbit-inspired artwork and much, much more.
For Aussie-based readers, you can purchase your hard or e-copy of tickle from the tickle the imagination website or from good newsagents around Australia. International readers can purchase their copy from the tickle website.
Wednesday, 11 March 2015
Little Golden Book Buntings
Yes, I have been having fun with Little Golden Books again, even though I should really be sorting out my itinerary for an upcoming trip! This latest round of storybook buntings includes perennial favourites which sell out in next to no time, such as Bambi and Dumbo. But, there are also a few newbies, including one of my favourites, "Noah's Ark". As per usual, buntings are available in both my Etsy and Madeit stores - which one is your favourite?
Monday, 9 March 2015
Things I Love - Concrete and Rock
I have always had a bit of a "thing" for beautiful smooth pebbles and rocks, rockpools and any rock, stone or concrete-themed creations. So it shouldn't surprise you to know how much I love creating my crochet-covered pebble magnets and paperweights. I also still love other people's rock creations and today I am hightlighting some fantastic Aussie-made creations featuring concrete and/or rocks. What do you think?
Belushi Handmade
Friday, 6 March 2015
The makings of a literature cuff bangle
Have you ever walked through an art gallery and pondered what went into the creation of that sculpture or painting you really admire? Have you ever looked at a handmade creation on Etsy or Madeit, perhaps even a Two Cheek Monkeys piece, and wondered the same thing?
Well, today I am sharing with you a little of what goes into the creation of one of my cabochon-embellished literature cuff bangles!
First, I decide which literary character I want to highlight and find a suitable bit of text to cut up for the jewellery (this can lead to all kinds of distraction, such as re-reading my favourite chapter, or even the whole book!)
Then comes the slowest part, insetting the snippet of book page into the jewellery. Why is this bit slow? Not because I get sidetracked reading the novel, but because the resin glaze I use in the insetting process needs several hours (sometimes longer) to dry after each coat.
While I wait for the resin to dry and cure, I set about the task of sorting through the available cabochons and deciding on a colour scheme and layout for the piece(s) I am creating. This part is kind of like a kid sorting through their lollies/candy to decide which ones to eat!
Of course, the most fun part is last - gluing on all those pretty floral cabochons and rhinestones! This part of the process takes some time too because I have to allow time for the glue to set on one section before I can start on another section.
After all that, I end up with some beautiful literature bangles which I am tempted to keep for myself! But I am always so thrilled when they head off to new homes and my customers tell me a little about why they love the piece or why they are buying it for their loved one.
So there you have it, a little peek into my day here at Two Cheeky Monkeys HQ.
Wednesday, 4 March 2015
Musical Thumbtacks
At the end of last year some time, I had one of those "light bulb" moments where I thought, "Now why haven't I been making that item for my Domum Vindemia stores???" That item was, of course, the musical stitch marker set shown above. As an amateur musician who loves to use old sheet music in my personal creations, I don't know why it took me so long to add music-themed pieces to my stores!
And now I've decided to add music-themed thumbtack sets to my stores after a request from a customer. This first set was commissioned as a 21st birthday present for a music-loving individual, but I'm already imagining that the sets in-store will be given to music teachers, or musical theatre performers, or other amateur musicians like myself! What do you think?
Monday, 2 March 2015
Two Cheeky Monkeys 2015 Autumn/Winter Launch
I am so excited this week to finally launch Two Cheeky Monkeys' Autumn/Winter range for 2015! This season's new range is full of customisable multi-layered necklaces featuring your favourite literary characters as well as your choice of monogram charm and bead colour.
The new range of necklaces is now available in both my Etsy and Madeit stores and currently comes in Mr Darcy, Mr Rochester and Atticus Finch choices. There are nineteen bead colours to choose from and, of course, I am happy to make necklaces of any literary character customers adore. Who would you choose?

